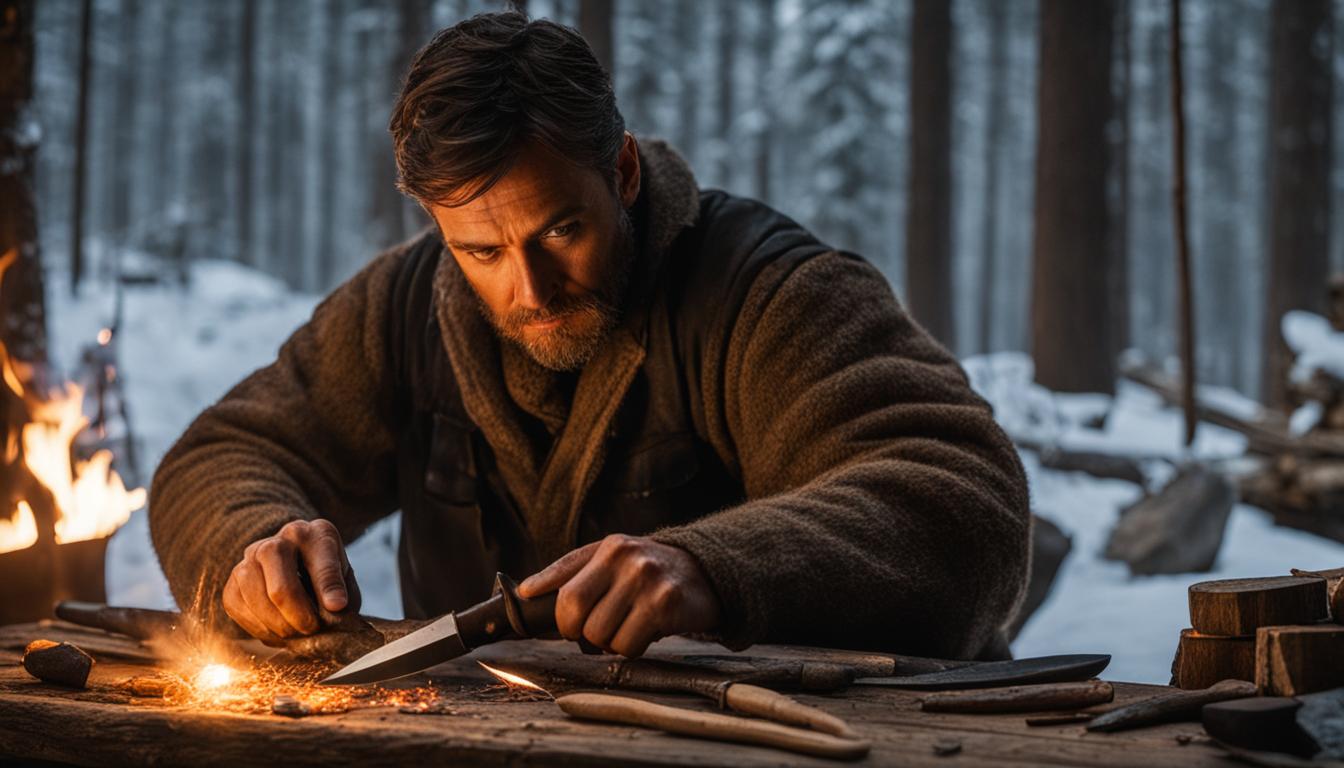
Mastering the art of sharpening your hunting knife is essential for any serious hunter. A dull knife can make field dressing, skinning, and butchering a difficult and frustrating task. In this guide, I will share with you the techniques and steps to ensure your hunting knife is razor-sharp and ready for the challenges of the hunt.
When it comes to sharpening your hunting knife, there are a few key things to keep in mind. Firstly, choosing the right knife is crucial. Many commercial hunting knives are designed to be durable but can be difficult to sharpen once they become dull. Opt for a knife with a thinner blade geometry made of steel that offers a good balance between hardness and stiffness. This will make sharpening and maintaining a sharp edge much easier.
To sharpen your hunting knife effectively, I recommend following the four steps recommended by Master Bladesmith Josh Smith. These steps are:
Key Takeaways:
- Choose a hunting knife with a thinner blade geometry and steel that offers a good balance between hardness and stiffness.
- Follow the four steps recommended by Master Bladesmith Josh Smith: use a stone, feel the burr, strop it, and test the sharpness.
- Use a stone with a grit between 600 and 1,000 for hunting knives.
- Feeling the burr is important to determine if the blade is sharpened evenly on each side.
- Stropping the knife on a leather belt or strop will help achieve a sharp edge.
Choose the Right Knife
When it comes to selecting a hunting knife, making the right choice can greatly affect your ability to sharpen and maintain a sharp edge. While many commercial hunting knives are designed to be durable, they often pose a challenge when it comes to sharpening them once they become dull. To ensure ease of sharpening and a consistently sharp edge, it is important to choose a hunting knife that is suitable for the task.
One key consideration when selecting a hunting knife is the blade geometry. Opt for a knife with a thinner blade geometry, as these blades are easier to sharpen and maintain. Additionally, thinner blades are more effective at cutting through hide and hair, allowing for cleaner and smoother cuts.
The type of steel used in the construction of the knife is also crucial. Look for a knife made of steel that strikes a balance between hardness and stiffness. Master Bladesmith Josh Smith recommends CPM MagnaCut steel or 52100 ball-bearing steel for his knives due to their favorable characteristics, which make them easier to sharpen and maintain a sharp edge.
The Right Knife for Sharpening
| Knife Material | Blade Geometry |
|---|---|
| CPM MagnaCut steel | Thinner blade geometry |
| 52100 ball-bearing steel | Thinner blade geometry |
By selecting a hunting knife with the right blade geometry and steel, you can ensure that it is easier to sharpen and maintain a sharp edge, ultimately enhancing your overall hunting experience.
Four Steps to an Edge
To sharpen your hunting knife effectively, you can follow the four steps recommended by Master Bladesmith Josh Smith. These steps will help you achieve a sharp and reliable edge for your hunting adventures.
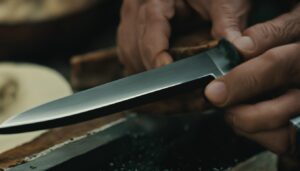
Step 1: Use a Stone
Start by using a stone to sharpen your hunting knife. It is recommended to use a water or oil stone with a grit between 600 and 1,000 for hunting knives. This will provide the right amount of abrasiveness to shape and refine the blade’s edge.
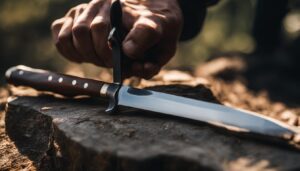
Step 2: Feel the Burr
When sharpening the blade, you will create a burr – a fold of steel that forms on the opposite side of the edge. To feel the burr, draw the blade across the stone at an angle of about 20 degrees, applying steady pressure. After working one side for 10 passes, check for the burr’s presence.
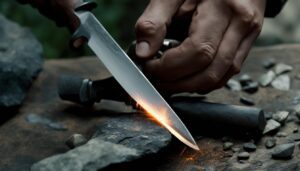
Step 3: Strop the Knife
Stropping the knife is the next crucial step in achieving a sharp edge. Use a leather belt or strop to hone the tiny wire burr and refine the blade further. This will help remove any imperfections and facilitate a smoother cutting experience.
Step 4: Test the Sharpness
After following the previous steps, it’s important to test the sharpness of your hunting knife before heading out. Take a piece of paper and slice it to assess the blade’s cutting ability. Additionally, shaving off a chunk of hair from a hairy hunting buddy’s arm can give you a practical indication of the knife’s sharpness.
By following these four steps, you can master the hunting knife sharpening process and develop effective sharpening techniques for your hunting knives.
FAQ
What should I consider when choosing a hunting knife to sharpen?
It is important to choose a hunting knife with a thinner blade geometry and made of steel that offers a good balance between hardness and stiffness. This will make it easier to sharpen and maintain a sharp edge.
What type of steel is recommended for hunting knives?
Master Bladesmith Josh Smith recommends using CPM MagnaCut steel or 52100 ball-bearing steel for hunting knives, as they provide the desired balance between hardness and stiffness.
What are the four steps to sharpening a hunting knife?
The four steps recommended by Master Bladesmith Josh Smith are as follows: 1) Use a stone with a grit between 600 and 1,000 to sharpen the blade. 2) Feel for the burr, which is created when sharpening the blade. 3) Strop the knife using a leather belt or strop to hone the tiny wire burr and achieve a sharp edge. 4) Test the sharpness by slicing a piece of paper and shaving off a chunk of hair from a hairy hunting buddy’s arm.